The block center is an important part of the preschool classroom. This area can provide many different learning opportunities and is a wonderful place for creativity and imagination. When shelves and baskets are organized with a variety of toys and materials, young children are invited to create and build. While playing with blocks activities, many important skills are built. Scroll down towards bottom of this post to find a free printable list of materials and free labels for your block center! Toddlers are learning how to line up the blocks and then stack them. During the preschool years the children are moving towards construction. They will put more thought into what they are building, thinking about its purpose and the details needed.
This keeps the children from becoming overwhelmed while learning how to handle the materials. As the school year progresses, and we feel the children can handle more, we gradually add more materials to this space. Also, at the start of the year, when centers time is finished, we turn the shelves around. This makes for less distraction during circle time, which is adjacent to our block area. Block shelves during centers time: Block shelves when centers time is over:
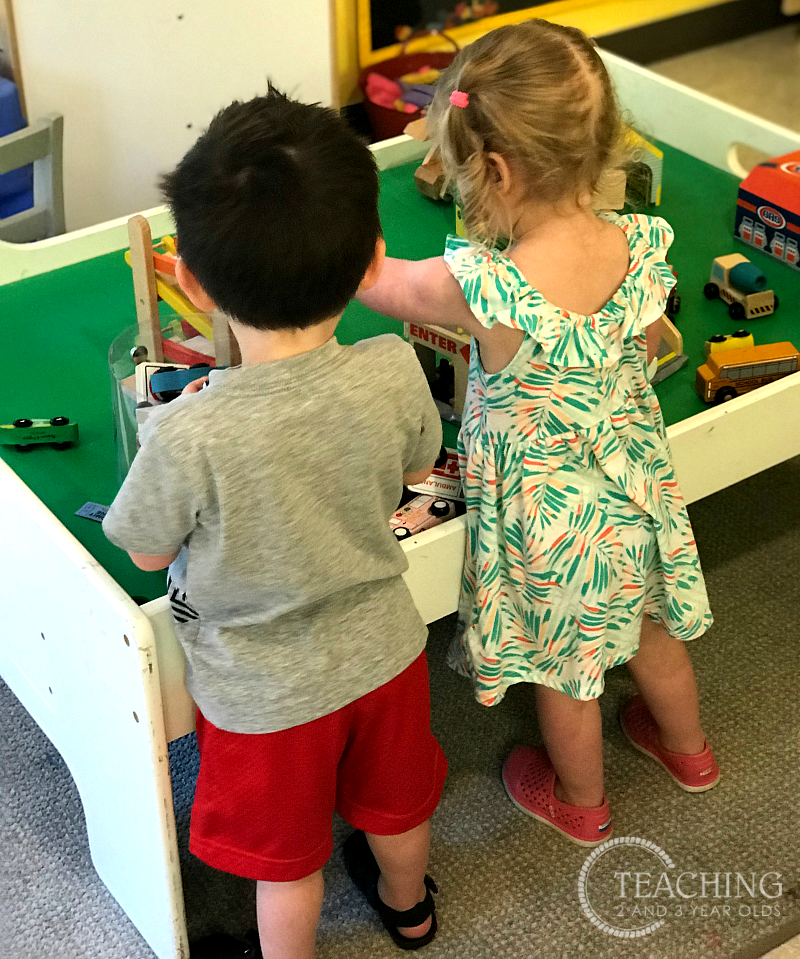
Throwing toys seems to be more common in the block area, especially for 2 year olds. So if I am close by, I can gently stop the child from throwing and show him another way that the toy can be used. For example, cars are rolled on the ground. Or, blocks are for stacking. This is also an area that sharing can be difficult, so it’s a great place to help the children learn how to work together. I do not limit how many children can be in the block area, just as I don’t limit how many are in any of our centers. I feel this is a good way for children to work out how to fit in a shared space. Most of our children quickly realize when an area feels too crowded and naturally move to a different center for awhile.
Managing Centers Time with Toddlers Managing Centers Time with Preschoolers
I like to sit near them and watch how they interact with each other and the materials. I might not necessarily be saying anything, but I am present in case they need assistance. This also gives me time to observe and see how they are using the materials so I can note what might need to be tweaked, if anything. A common question I get from teachers is how to handle clean up in the block area, because there are so many smaller pieces. Again, start with less toys while you are teaching the children how to put them away. I first give the children a reminder that clean up will happen soon. I might even point to our special preschool clock so they have a visual. Then, I turn on our clean up song. I actually have this looped so it plays a few times, because at the start of the year clean up can take quite awhile. I will then grab a basket and ask a couple of children to put the cars in it. From there I will move around and invite other children to put toys in baskets or on shelves. I do this for all the pieces that are out.
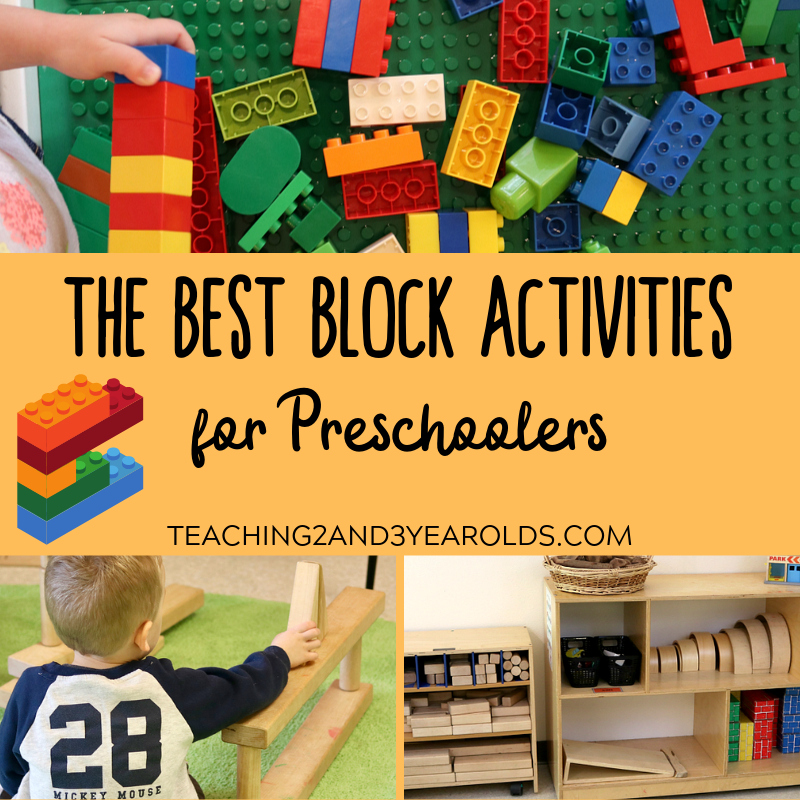
Favorite Materials for the Block Area
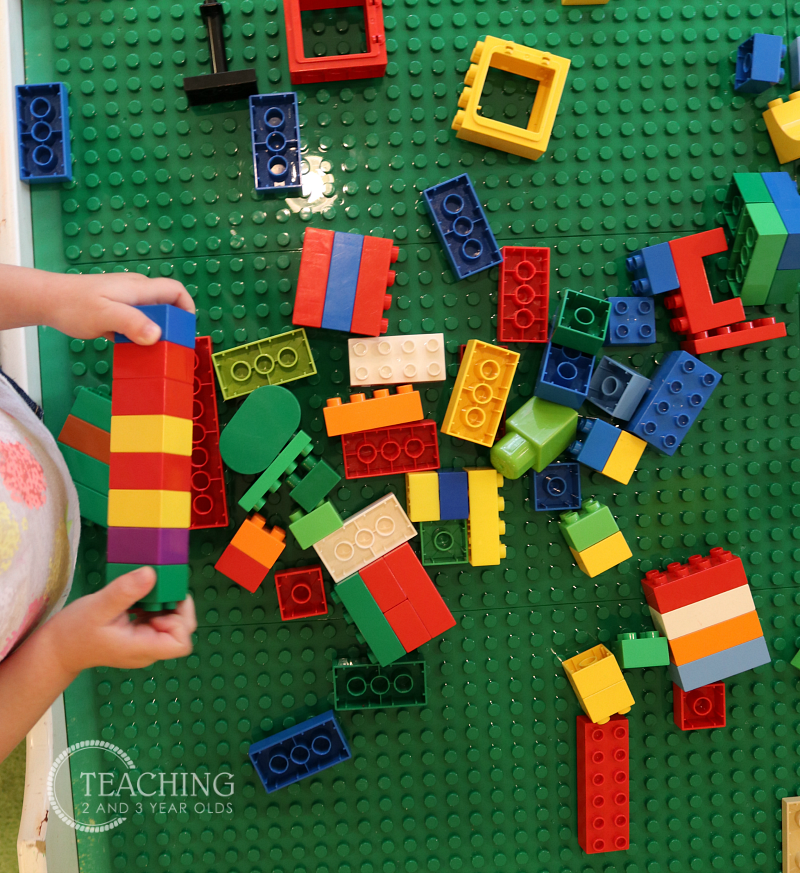
There are so many wonderful toys that are available today. So many, in fact, that it can be overwhelming knowing which to purchase for your blocks activities. I look for open-ended toys when making these selections. These are toys that do not need to be used a particular way, but instead let children make their own choices on how to use them.
Tree Blocks Natural Arches Blocks Rainbow Arch Blocks Cardboard Blocks
LEGO Duplos Mega Blocks Little Waffle Blocks
Community Helpers Vehicles Airplanes and Boats
Parking Garage Dollhouse Street Signs Castle Blocks
Color Wood Blocks Lincoln Logs Magna Tiles Colored Window Blocks
I often tell new teachers who don’t have much in their classrooms to start with loose parts. Why? Because children can turn them into whatever they desire. What a wonderful way to foster creativity! And, you can use recycled goods and items found in nature, so there is no cost. You an even ask families if they have these items at home. One school I visited had a section in their building that was strictly for recycled loose parts. After sending home a note letting everyone know what types of recycled goods they wanted, there were labeled bins on shelves, ready to be filled. But you don’t even need to be that organized, especially if you don’t have designated space. In my previous classroom I used the top of my upper cabinets to store loose parts in glass jars and baskets. It actually looked very pleasing, but also served a purpose. Here are some examples of loose parts:
Cardboard tubes Tin cans (with no sharp edges) Empty thread spools Wine corks Buttons Stones Twigs Wallpaper samples Flooring samples Fabric Wood Egg Cartons Boxes
And truly, there is so much more. Just think about what recycled items you might have, or look at what you see while on a walk. What could be brought back into the classroom for open-ended play? Note: When using loose parts, always be mindful of their size. If you teach toddlers or older children who still put things in their mouths, use larger loose parts.
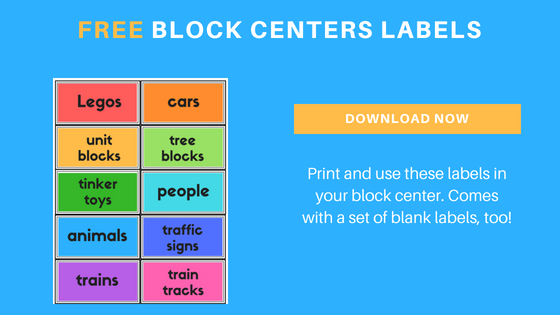
Free Printable Block Labels
Make organization easier by labeling shelves and bins! Includes a page of blank labels. Click on the photo below for the pdf download:
Here is my Privacy Policy