Glitter. After talking to many parents and teachers, I realize there are 2 feelings about this tiny shiny stuff. You either love it or you really don’t like it. If you fall in the latter category, I’m not going to try to sell this activity to you. Unless you just skip the glitter altogether. That could work! But, just be warned, I’m going to mention glitter here, and share some glitter photos. 😉
Here’s what you will need:
Paper mache ball ornaments Red washable tempera paint Washable white glue Red glitter Green glitter Acrylic sealer
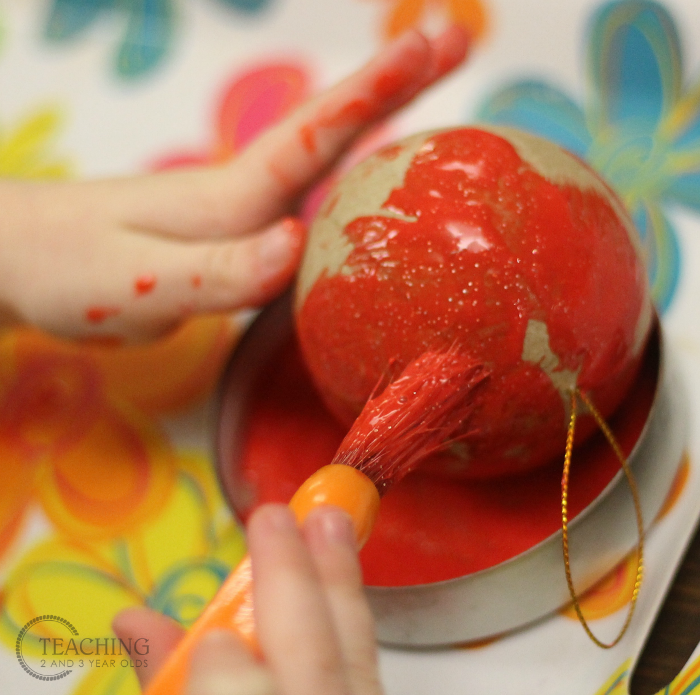
Add even amounts of glue and paint to a shallow tray or cup. Add a paintbrush. Place those and the paper mache ornament on a tray. (You will need 1 for each child participating.)
My tip for the glitter: We buy our glitter in big containers, so I found some small salt and pepper shakers at Goodwill and poured glitter into them. I’ve also used plastic spice bottles. You want to pay attention to the size of the holes in the lid. If they are too big, the glitter will just pour out. I prefer using containers that have holes that are small enough so that the children really have to shake the container to release the glitter. I do this because I want to add some extra fine motor in the activity. And truthfully, young children just love shaking those containers. They aren’t even really paying attention to what’s coming out. They simply love to shake them! Don’t want to use glitter? Have the children glue other small pieces on top!
Invite your children to paint the ball ornament, covering as much as possible. Some might want to paint the entire ball, but others will perhaps paint half and call it good. These are busy toddlers, after all!
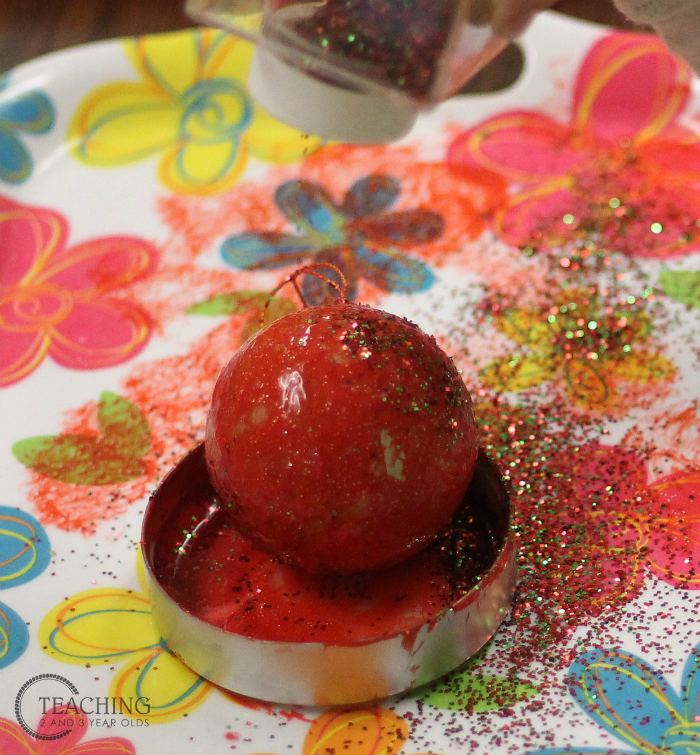
Now comes the glitter or other small pieces. As the children finish painting their ball ornament, I remove the paint/glue and the paintbrush and replace them with a bottle of glitter or hand them a container of small pieces to press on.
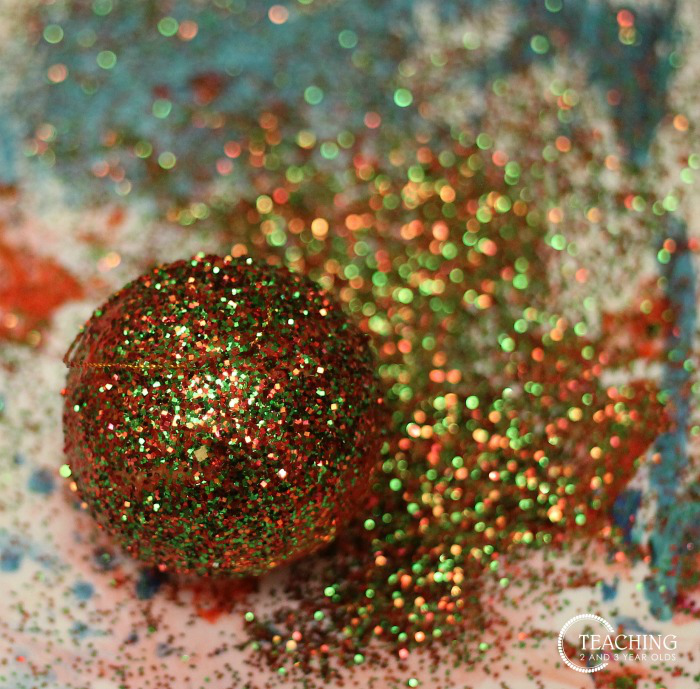
They then shake the glitter onto the ornament for as long as they’d like. Don’t look at the next photo if you have a glitter phobia. (I happen to love it. Call me crazy.) Or, use other small pieces and press them on, as I mentioned earlier.
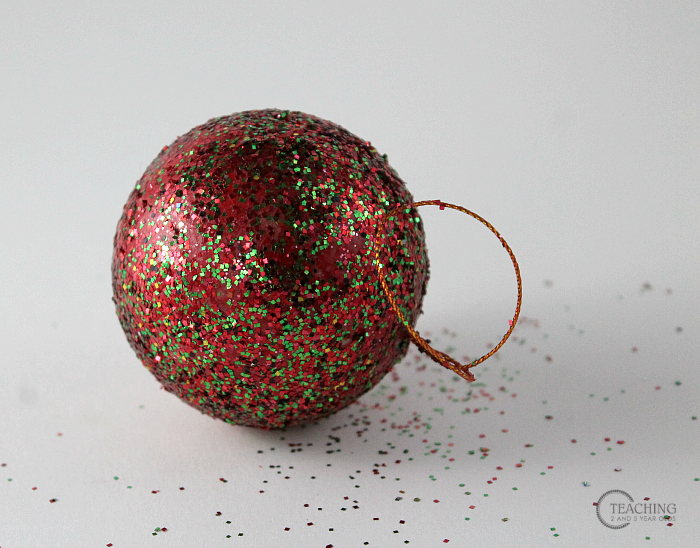
Make sure to do this in a well ventilated place. (We like to spray them outside after the children have gone home.) You might still want to keep your eyes closed, because the next photo is keeping it real. This is how our classroom countertop looked when we were finished. Reminds me of my kitchen after cooking a big Thanksgiving dinner. But it was all worth it. I absolutely love how these glitter ornaments turned out!
We wrapped them up along with our photo keepsake ornaments and placed them in our handmade gift bags.
Keepsake Photo Ornaments No-Mess Gingerbread Ornament Easy Peg Angel Ornaments Check out our favorite Christmas supplies:
Here is my Privacy Policy