Inside: Gather an assortment of preschool classroom ideas while touring six different environments! Are you a new teacher who is wondering how to set up a preschool classroom? Or have you been in your setting for awhile and want to make some changes? Six other early childhood educators and myself joined together in a classroom blog hop. We each put together a virtual tour of our environments. Scroll down to get the links to each tour!
I’ve had the privilege of touring several Reggio Emilia-inspired programs and fell in love with their attention to natural materials and lighting. My co-teacher and I decided over a year ago to slowly transform our small classroom so that it contained more natural materials, earth tones, and warmth. We found some child-sized wood furniture and eventually got rid of most of the plastic and bright colors. This was part of our first transformation. We started collecting pieces from thrift stores and got the word out to our preschool families who were ready to donate wood toys. We started our 2013-2014 school year with quite a few new additions, such as new area rugs, baskets, and sheers on the windows. By spring of 2014, we felt pretty good about how our classroom had changed, as you can see in these spring pictures. Then, over the summer of 2014, I learned about Fairy Dust Teaching. I, along with some other preschool bloggers, decided to enroll in one of Sally Haughley’s Learning Spaces e-courses. I realized there was much more to learn about creating a classroom environment! School started a few weeks ago, and I made more changes. Some small, some a bit larger. And I’m not finished. I look at it as a process. I thought I’d share where my classroom is at now, and how it is working with our 2 and 3 year olds. Note: Since writing this post, I have moved into a different classroom. You can see it here.
Preschool Classroom Ideas
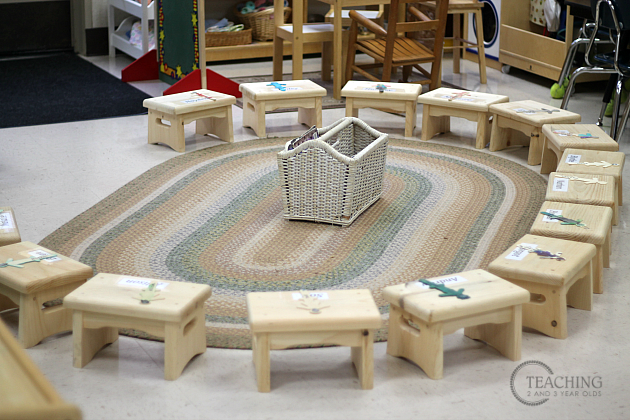
When our children arrive, they find their name sticks on their circle time stools and place them in the name chart’s envelope.
(This picture was taken before the children decorated the stick.) This is a great visual for the children to see who is in class and who is absent.
To the right of our room as you enter is our reading and writing area. I love this space, and so do the children. You can see how we used to have it more blocked off last year. After taking Sally’s e-course and seeing all the wonderful Montessori, Reggio and Waldorf classrooms, we decided to open this space up. It welcomes the children as soon as they arrive. What a difference this has made!
We also got a new cubby system that looks much better. Our 3 year olds each have their own cubby inside the classroom to put away any of their “dry work” – anything that is not wet. They learn quickly how to identify their names so they can find their cubby. It’s placed conveniently beside the doorway so the children remember to empty them when they are picked up at the end of the day. They love taking their work home! (We also have cubbies for each student in our hallway, but these are more for parent-communication and larger pieces of artwork that first needed to dry.)
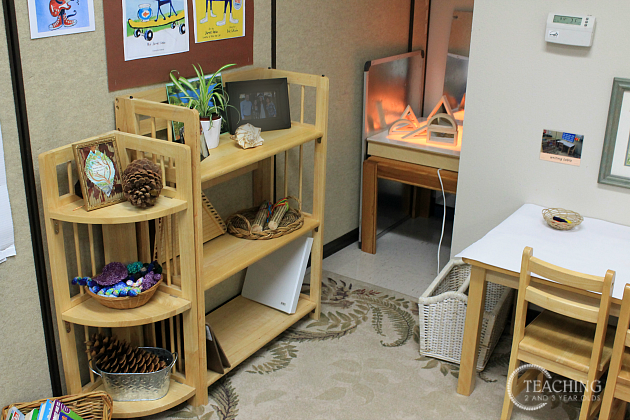
The bookshelf holds our journals and our memory books. Last year we realized we had the perfect spot for our light table, tucked in a little nook which once held our storage carts. This cozy area offers a place for children who would like some quiet time. (Note: this photo was taken before all the memory book binders arrived. The parents provide and bring in the binders on the first day of school.)
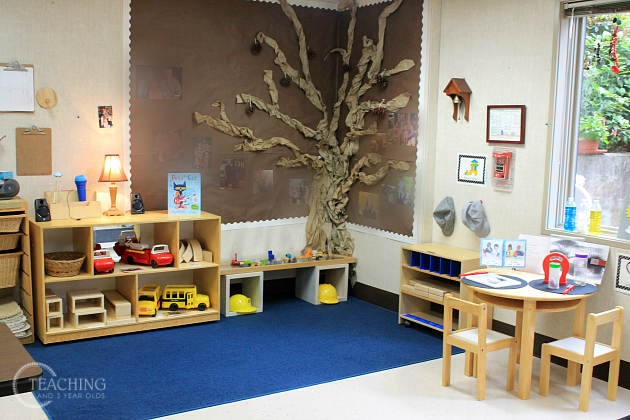
Our block area is our noisiest part of the classroom, so it is at the opposite end of the reading and writing area. We once had this center sectioned off by separating it from the dramatic play area, but last year we realized that the children preferred it more open. By pushing the shelf against the wall, this area invited children to enter with ease and create large structures with plenty of room.
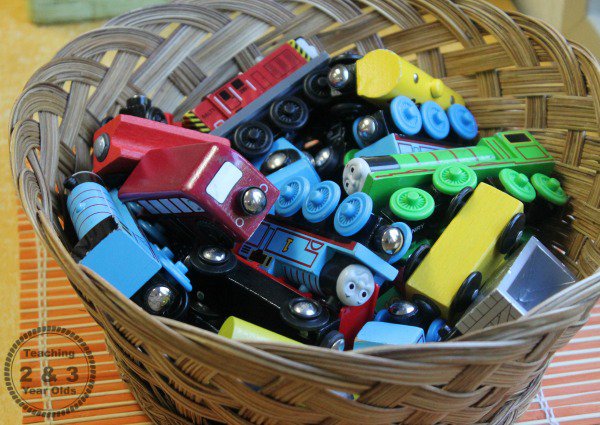
We replaced plastic containers with wicker to hold toys and materials. We are always looking at design and texture when choosing and displaying pieces.
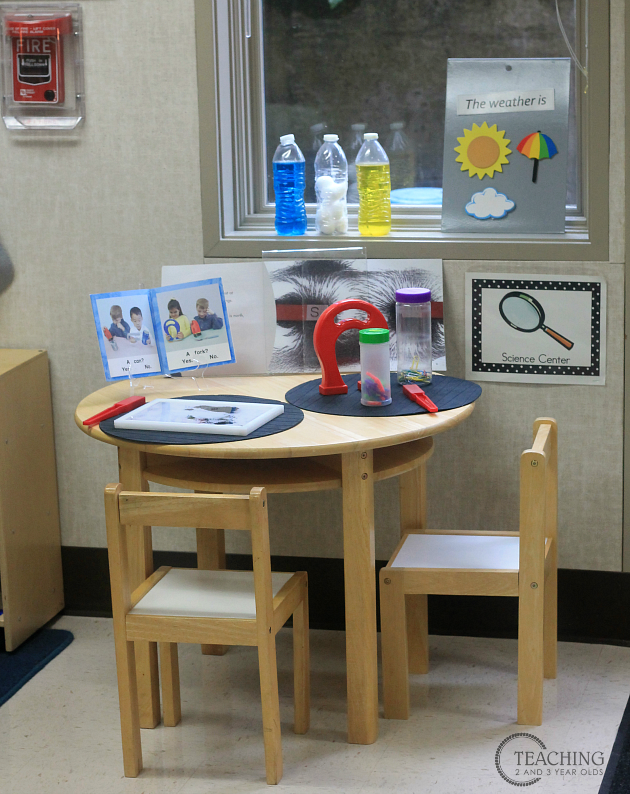
We tucked a small round table between the block area and dramatic play for our science center. We used to have a science shelf, which we loved, but when this table was given to us, we were fortunate it fit.
Across from the block area is our dramatic play center. We removed the big plastic kitchen and replaced it with a wood stove and sink (not pictured). Also included in this area is a dress up cart. We change out what we hang on the hooks, depending on the theme.
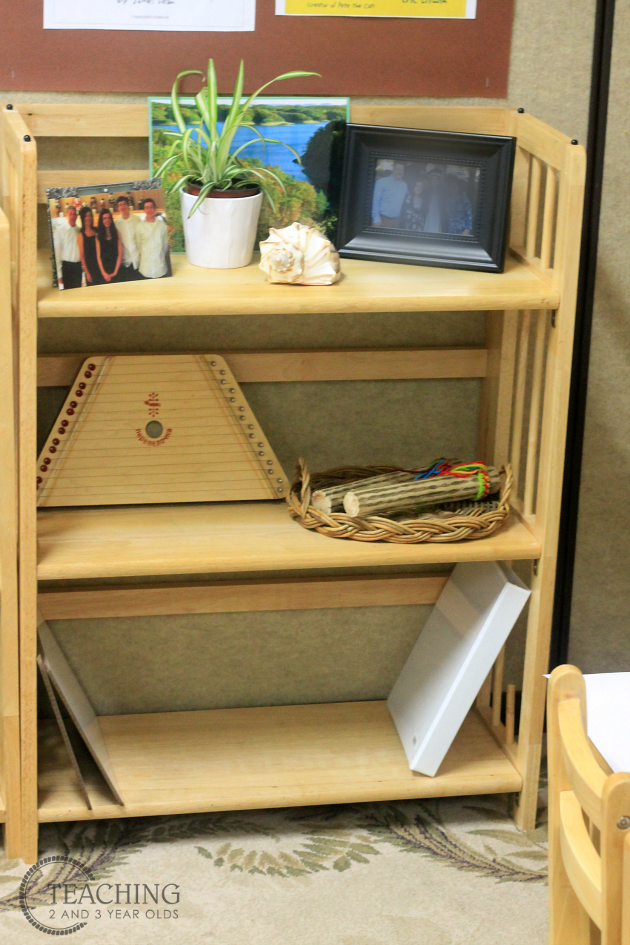
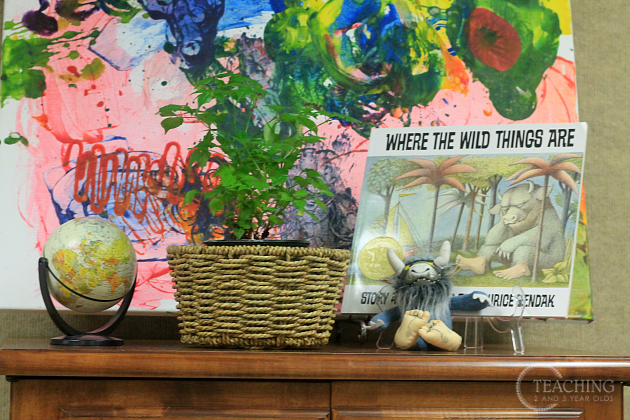
We love the displays of natural materials, along with books. Books are on display all over the room, not just in the reading area. We also prefer to use the children’s art for our walls rather than commercial posters. The canvas watercolor art was made by our summer camp children.
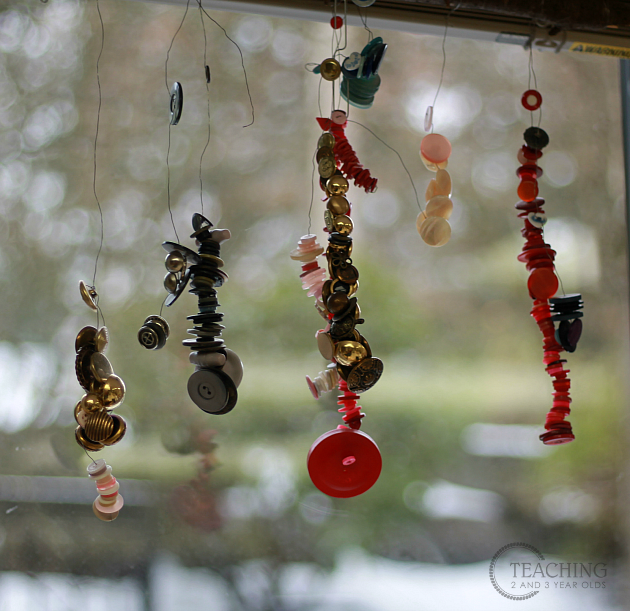
One of the many details we saw in the Reggio-inspired classrooms was the use of wire and 3 dimensional art. This is a simple mobile made by our students over 4 years ago who delighted in threading buttons. I adore it, and move it all over the room.
We want everything displayed in the classroom as meaningful as possible for the children. This birthday wall is most special! At the beginning of the year the children paint a birthday crown and all the crowns are displayed in birthday order. When the day comes to celebrate a birthday, the crown is removed for the child to proudly wear and take home. I will then replace the crown with a picture of the child wearing the crown. This lets the children see who has had a birthday and who is still waiting. It is one of the best visuals, and I got the idea from one of the Reggio-influenced classrooms that we visited many years ago. (The photo below shows the crowns before they were painted by the children. We also add labels with their names and birth dates.)
Our classroom is small but efficient. We have had so many people tell us it feels much larger than it really is. If you peek into the classroom while children are present, it doesn’t feel the least bit crowded. Everything is open, and yet you get a feel for what each space is for. Since the children are allowed to be wherever they want during centers time, it’s important that each space is inviting and organized. Materials are neatly displayed and the children are shown how to use and put them away. We work on this at the beginning of the year and keep modeling it, each and every day. Edited to add: Since writing this blog post I’ve changed classrooms! You can see what my new classroom looks like here. Want to see how I set up our classrooms for various themes? Check out this playlist! Related link: The Best Resources for Preschool Teachers
Ready to see some more early childhood environments?
Over the past couple of months, I have gotten involved with a wonderful group of early childhood bloggers. Perhaps you recognize some (or all) of them? We decided to put together a classroom tour blog hop! Click on the links below to see how each educator put her own special touches on her environment!
Photo Credit Classroom Tour Blog Hop Environments:
Katie at Preschool Inspirations
Jamie at Play to Learn Preschool Darla at The Preschool Toolbox Amy at Child Central Station Mary Catherine at Fun-A-Day Deborah at Teach Preschool
Here is my Privacy Policy