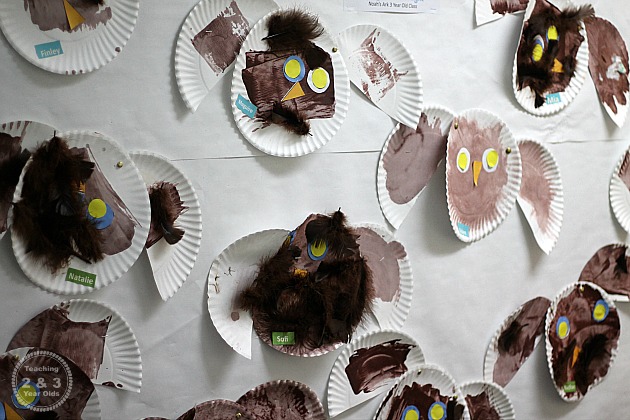
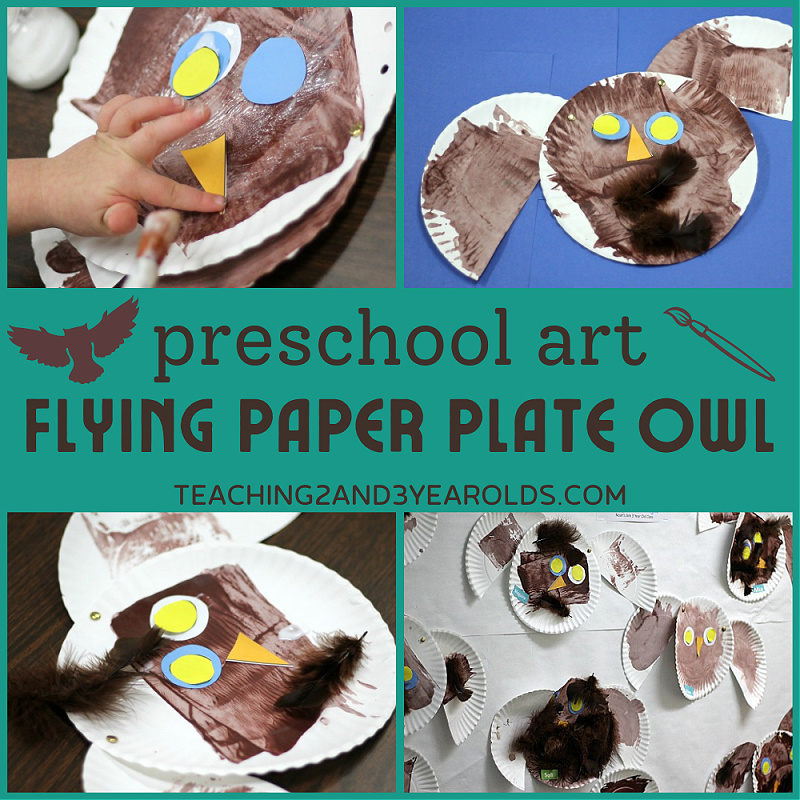
One of our science activities in October is learning about owls. Our preschoolers were intrigued that owls slept during the day. That was a perfect lead into our unit on nocturnal animals. After talking about how the owls spread their wings to fly, we moved over to the art table where we made owls. This paper plate owl craft has wings that can move up and down by attaching them to the body with brads. After finishing them and reading books about owls, I created a bulletin board in our preschool hallway for all the families to see.
What you will need to make these flying owls: Paper plates (the cheap flimsy ones work best) Brown tempera paint Glue Brown feathers Brads Colored paper to create eyes Putting the activity together: For each child you will need 2 paper plates. Cut one of the paper plates in half. These will be the wings.
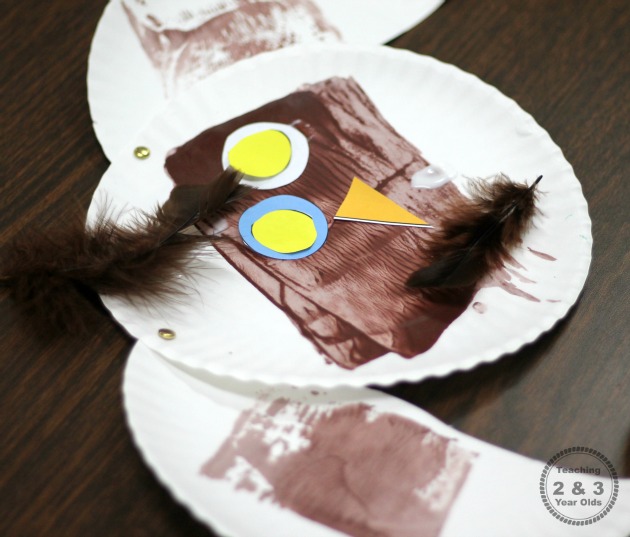
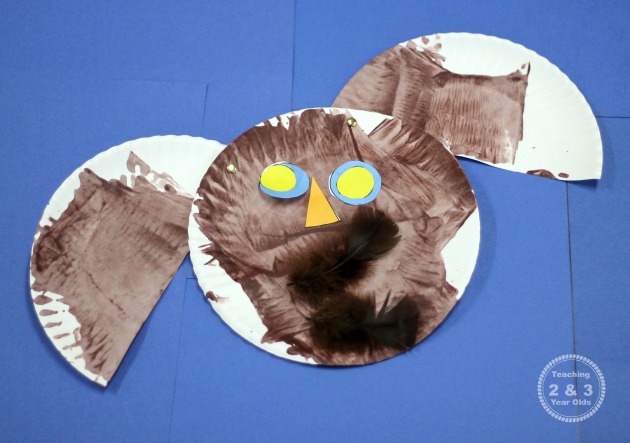
Paint the paper plates and assemble the owl: Paint the whole paper plate, and the two halves. Let dry completely. Place the halves of the paper plates on either side of the whole plate, a bit lower than the top of the whole plate, with the whole plate a bit on top of the wings. With the wings a bit underneath the body of the owl, punch a hole through both layers. Insert brads through holes on either side so that the wings are attached and can move up and down.
Brush glue on the owl’s body and attach eyes, beak and feathers.
Even with our crafts, no two ever look alike. We love that our preschoolers add their own details the way they want.
When finished, we made a simple bulletin board in our hallway.
Learn About Squirrels Learn About Spiders Here is my Privacy Policy