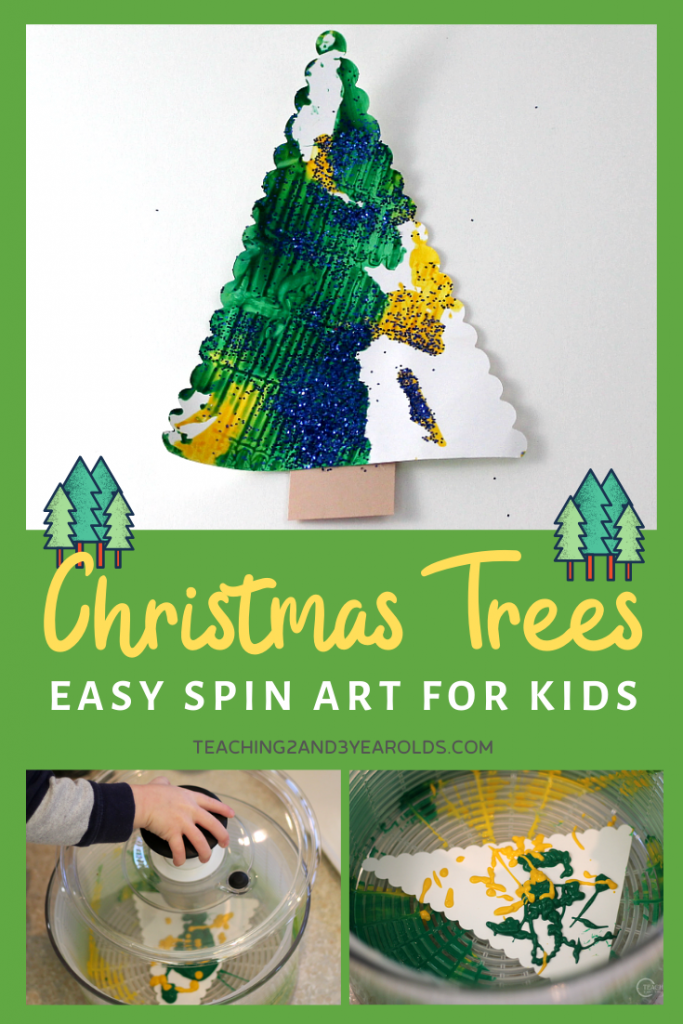
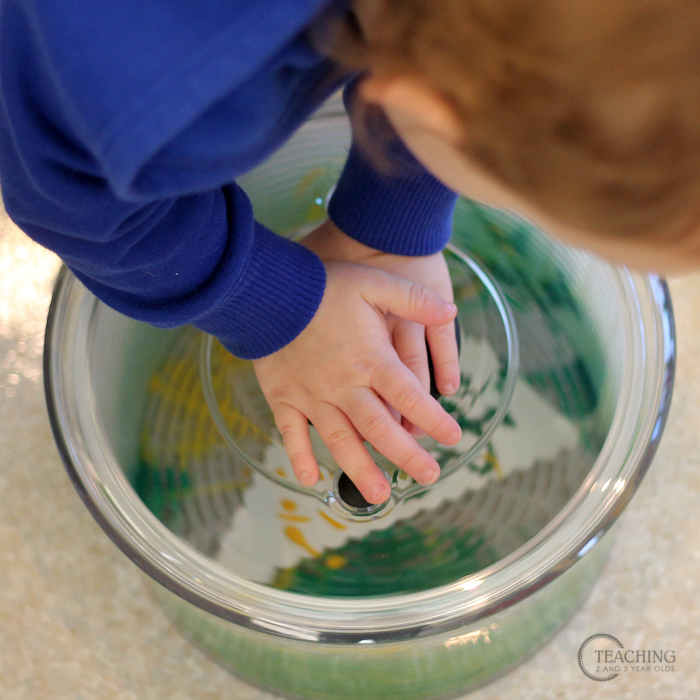
Place the lid on the salad spinner. ‘Tis the season for lots of holiday crafts! You know the ones. They are cute, you’ve worked hard cutting out all those little pieces, you stand close by so you can gently suggest the pieces be arranged in a certain order. And, when finished, you either have a Pinterest fail because they look nothing like the photo that proudly sat on your computer screen a few days back. Take a break. Pull out a fun, hands-on activity that is all about the process. There is absolutely no end result in mind. I just happen to have one for you. Grab your salad spinner…. It really is a remarkable tool at the art table! We’ve used ours to paint apples, hearts, even spiders! And depending on the salad spinner you choose, there will be different ways to make the spinner move. There is something magical to a 2 or 3 year old who can figure out how to make this gadget spin, then opening the lid to see what happened.
What we used:
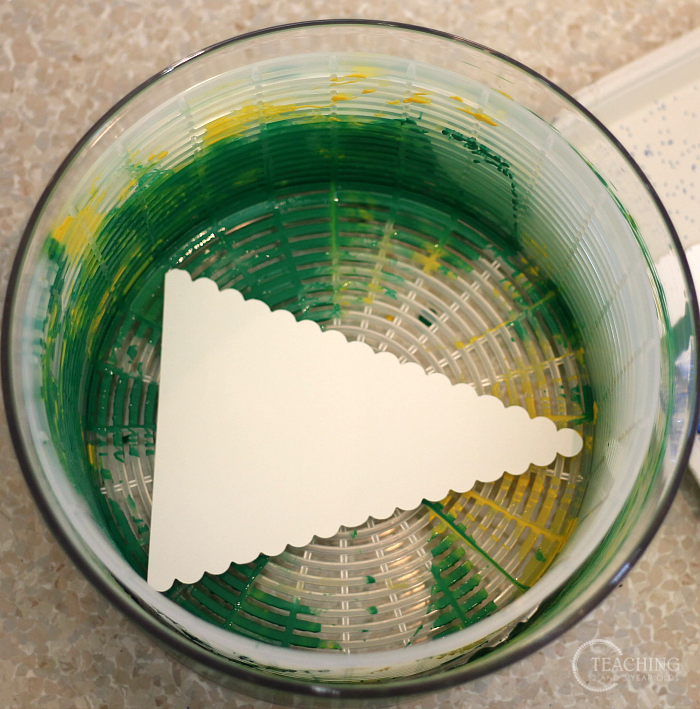
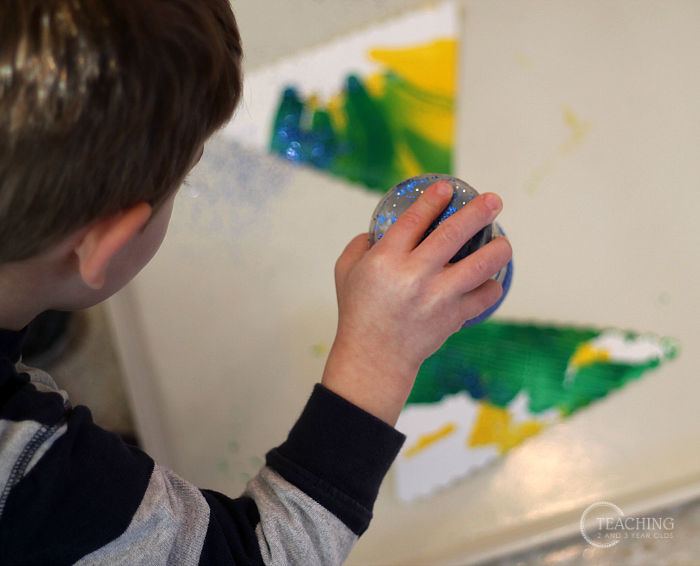
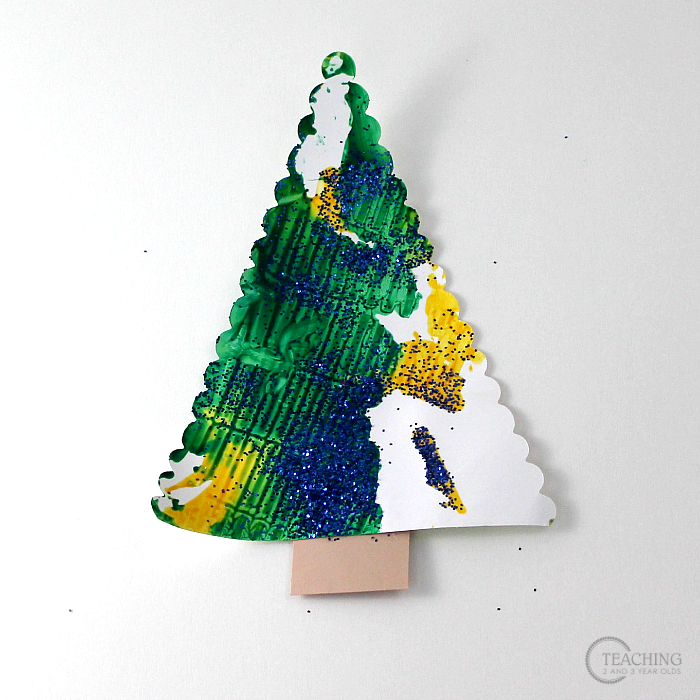
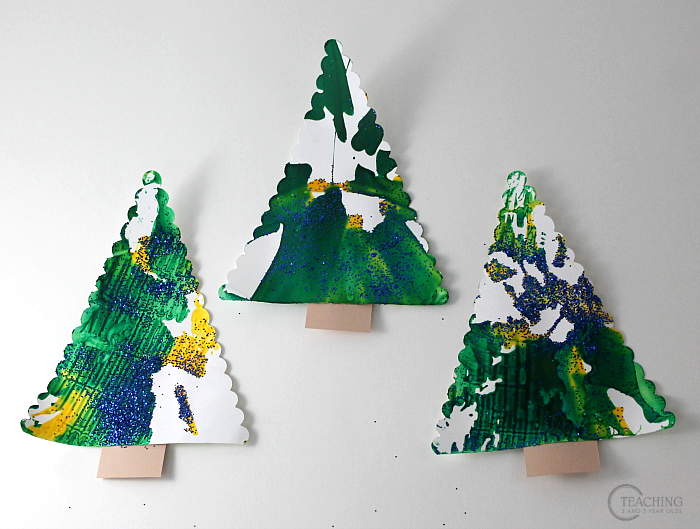
Paper cut into long thin triangles. I actually found some pre-cut shapes that had scalloped edges months ago. Back when I was probably supposed to be searching for apple stuff. Or who knows – maybe it was during the summer. All I know is that it was quite awhile ago and I cannot even recall where I got it. This is how I roll. So I can’t tell you where I found the paper, but you can easily cut your own triangles out of cardstock. And if you just happen to have some scrapbooking scissors that give a scalloped edge, bonus! But truly it will look just as nice with a flat edge. Salad spinner. I’ve used many different brands through the years, but I realize clear salad spinners are most fun because the children can watch the paint spin and mix. As I was preparing this activity, I found the 2 spinners that were downstairs. The one I loved most, that was clear, fell off the shelf as I walked away and broke. Turns out it all turned out well, as I found what I consider the perfect salad spinner for this activity. It’s an OXO Good Grips Salad Spinner that is large and all clear. It even has a button that acts as a brake to stop the spinning. You can imagine the delight when our 2 and 3 year olds figured that one out! And then you’ll need these: Green and yellow washable tempera paint. Blue glitter. (Optional) White card stock paper, cut into tree shapes. The drips spread more evenly than if the paint is poured into one or two clumps. Salad spinners differ on what makes them spin – some have buttons to push, some have strings to pull, some have levers to move back and forth, some have handles you turn. The OXO salad spinner has a nice big knob on top that is pushed. Our 2 year olds used 2 hands to push it while looking through the clear lid and watching the colors mix. It also has a small button that acts as a brake. When the button is pushed, the spin immediately stops. You can imagine how fun this is for 2 and 3 year olds! When finished spinning, remove the lid and then remove the triangle. We placed them on a big plastic tray. If you want to add glitter: While the triangles are on the tray, shake some glitter on top. Allow to completely dry and then glue a trunk on the bottom. You can leave it like this, or glue it onto a solid piece of paper. (We chose red.) Easy and so much fun! 15+ Fun Christmas Fine Motor Activities 20 Brilliant Christmas Break Ideas (to Keep Them Busy!) If you liked the spin art Christmas tree activity, you will love this Christmas tree ICE painting. Yep! Freeze water into tree shapes and paint with watercolors right on top! Here is my Privacy Policy