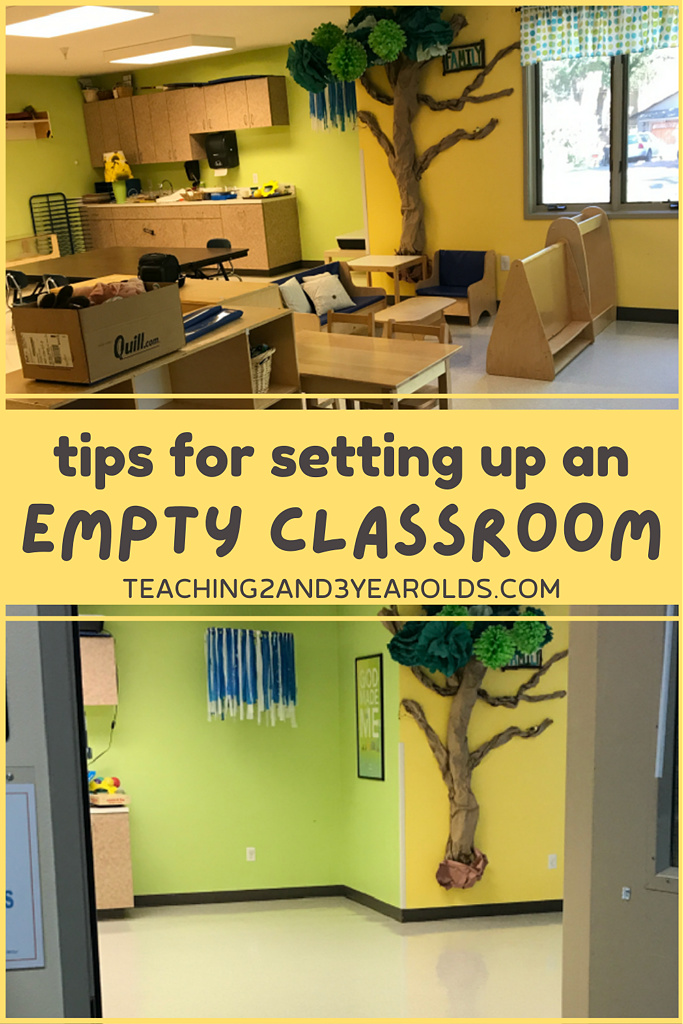
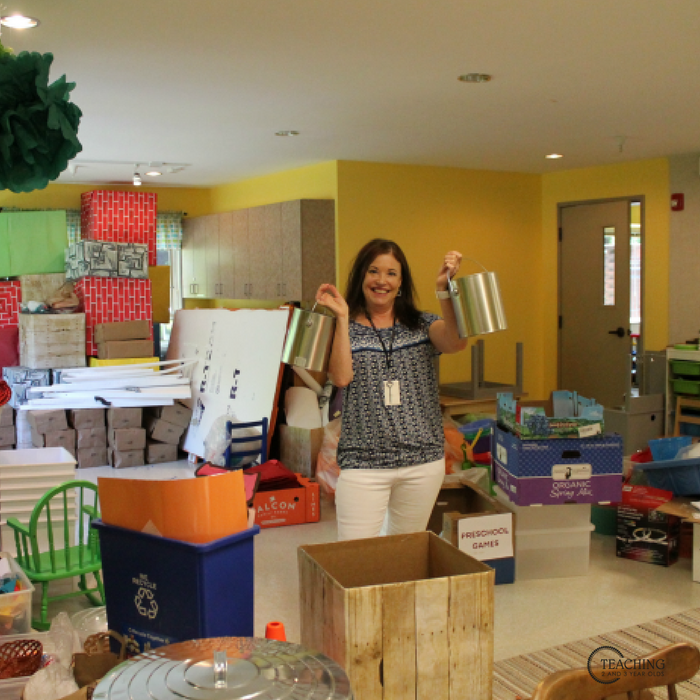
This year I am moving into a classroom after over a decade in my previous room. I will admit it took me quite awhile to warm up to the idea. I loved my previous room. I had everything figured out! I knew just where circle time would go, I finally had figured out a great spot for our science center, and I always loved that our dramatic play area had a nice big window behind it. Really, the decision wasn’t mine, though. Our little preschool had grown and we simply needed to occupy two floors now instead of one. And this meant moving the 2 and 3 year olds upstairs. That would be me. I knew about this move months before it actually happened. I was still in my previous classroom, getting so many compliments about how warm and homey it felt. How could I make my new room feel like this one? How could I start all over again? Well, I did it. And actually had fun with it! Let me show you how setting up a classroom doesn’t have to be complicated. School ended and everything went into storage for the summer. Late July, I decided to take a peek into my new room, just to get a head start. I let out a large gasp when I walked through the doorway. It was a mess. An absolutely horrid mess. Apparently the church that our preschool resides in had tossed everything into it during their summer camp. I cannot even explain the piles of stuff that were tucked in every corner, in the middle of the room, on tables. Finally I got notice that the floors were finished and I could start moving everything back into the room. Normally I would have rushed over and started putting everything into the room. But I didn’t. I decided I needed to have a plan, or I’d be moving heavy furniture everywhere, trying to figure out this new place that would become my classroom. I came up with six steps that I would follow to make moving into my classroom much easier. I’m on the last step as I type this, and I am really pleased with how everything is turning out. I thought I’d share with you what saved me from becoming unglued. This plan made moving into a new classroom so easy. I never felt anxious or pressured to get it all done now. It’s not often I can say I feel organized, but that’s exactly what has happened with this move in process. Step 1: Take a Good Look You’ve been given the green light to move into your classroom, and you want to get going NOW. But don’t rush the process. I decided to make a plan first. I walked around and really took a good look at my new classroom. I mean, I paid attention to every little detail. Step 2: Draw a Layout Recall what you saw when you walked around your classroom. You might have even taken pictures. If so, look at them carefully. And then draw the layout. Nothing fancy. Pencil to paper will work. I happened to use a whiteboard because I had one handy. Take some time and really look at the layout. Think about doorways, where there will be more foot traffic. Think about windows, where you will get natural light. Is there a sink in your classroom? What should be closest to it? What are on the floors? If there is a mixture of carpet and linoleum, any centers that involve possible dripping should be on top of linoleum. Trust me. I’ve had art activities on top of carpet and it’s a chore. Make notes on your map of where your learning centers will be. What furniture will be needed? Where should they be placed? Do you want more of an open concept, or do you want to separate each center using low shelves and other furniture? NOW you can start moving stuff into your classroom. The big day has arrived! Think about the layout you drew. Start with a few of the biggest pieces and move them to their designated areas. Once you have all the big stuff in the room, stand back again and assess.How is the flow? Is there plenty of room for children and teachers to move from area to area? Step 4: Add the Smaller Pieces Now you can add the smaller pieces – chairs, easel, light table, cubbies, step stools, floor carpets for linoleum areas, if desired. Step 5: Time to Include the Little Details This is when you can add the personal details, like labeling the cubbies, containers, and shelves. You might want to add some lamps for warmer lighting and some plants. What about wall decorations and bulletin boards? This can be the fun part, if you like to be creative! And if not, there’s always Pinterest! Once everything is in place, it’s time to set up the activities that will be displayed on the first open house or the first day of school, whatever comes first. As I’ve mentioned in my First Day of School Post, ignore that urge to fill every nook and cranny. Less is best until the children learn how to take care of the materials and clean up. Here’s a checklist I put together that you can download and print: 6 Steps to Setting Up a Classroom Checklist The Best Resources for Preschool Teachers Here is my Privacy Policy